Monday, January 30, 2017

Triggering and Geotagging with FLIR Vue Pro and Pixhawk.

By Brian Christal and Stephanie Pelczar


FLIR Vue Pro Set Up:

1Install FLIR UAS on your Android or Iphone.
2. Power your FLIR Vue Pro camera with a mini USB cable.
3. Enable BlueTooth and start FLIR UAS.
4. Move the STILL slider to the left to select Single. 
Then select the Settings button (bottom right).


5. Select the MAIN tab.
6. Select IR Format to 14-bit TIFF Sequence.
7. Set Still File Type to 14-bit TIFF.
      
Note: These images will appear black when you view them. You must process them in an application like PIX4D to view them properly.


8. Select the ACCY. port tab.
9. Set Channel 3: to RECORD START/STOP.


Pixhawk Settings:

1. Start Mission Planner, connect your Pixhawk, then select INITIAL SETUP> Optional Hardware> Camera Gimbal.


2. Configure your Pixhawk as shown. RC9 can be any open port in the list.


Connect your FLIR Vue Pro to the Pixhawk.


1. Connect your FLIR Accessory cable or Tuffwing FLIR Trigger Cable as shown. 

Note: The FLIR trigger cable does not provide power. You must power the FLIR with a mini USB cable.

The servo cable can go in any RC Out port you chose in the previous step.

A special mini USB cable is also required to power the camera. You must provide 5 volts of power to the back of the Pixhawk. FLIR Vue Pro thermal cameras require 1.2 watts at 5 volts. This can be provided by your airplane's ESC or a BEC.


Install the camera mount.

1. Unscrew the lens ring from your FLIR Vue Pro.
2. Insert your FLIR Vue Pro through the mount and screw the lens on.


3. Place the mount in your UAV Mapper.


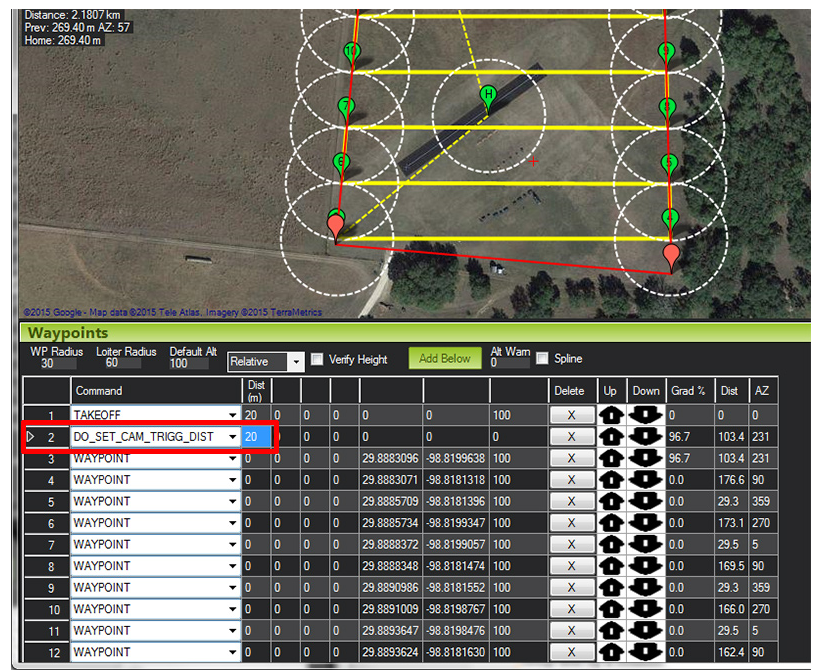
4. Right-click on the map and select Trigger Camera NOW. If everything is set up correctly, your Pixhawk will trigger the Canon camera to take pictures and is capable of triggering pictures using GPS distance.

Friday, January 27, 2017

Geotag GoPro Images using a Pixhawk Log File

By Brian Christal & Stephanie Pelczar

To add geotags to your GoPro images you will need to 1) set your GoPro's time to GPS time 2) set up and fly a mission with your Pixhawk-based UAV while taking pictures with your GoPro then 3) add geotags to your images using Mission Planner.

Set your GoPro time to GPS time.
  The minutes and seconds on your phone time are automatically synced to GPS time. DO the  
  following to sync your GoPro's minutes and seconds to GPS time:
    1. Install GoPro's phone app.
    2. Use GoPro's documentation to pair your phone and GoPro.


    3. In the GoPro app, select Settings> Set Date and Time to sync your GoPro to your phone's time.

Set up and fly a mission.
    1. Make sure LOG_BITMASK is set to 655358. This will make your Pixhawk record CAM
      trigger messages in its log file. You will use the messages to help determine the hour difference
      of your GoPro and GPS time.


    2. Create your flight grid and add a DO_SET_CAM_TRIGG_DIST command. Set to 20 meters.
      This is just for writing a CAM message to your Pixhawk log file, not for actually triggering your GoPro.
    3. Set your GoPro to Time Lapse mode, take a picture about every two seconds and fly your
      mission.

Add geotags using Mission Planner.
    1. Create a folder on your computer and copy the .bin file from your mission (on your Pixhawk SD  card).
    2. Start Mission Planner> Flight Date> DataFlash Logs tab >PX4 bin to log. Load your
     .bin file and save it as a .log file.
    3. Copy your pictures from your GoPro to the new folder with your log file.
    4. In Mission Planner, select Control + F.
    5. Select Geo ref images.
    6. Select Browse Log and select your .log file.
    7. Select Browse Pictures and choose your pictures.


8. Select Time offset, then Estimate Offset. This example shows an offset of -17988.4. This is the difference between the time the Pixhawk recorded its first camera trigger message and the time stamp on the first picture. This number is not accurate because the GoPro was taking pictures before the UAV even took flight, but it lets us know what number to use based on the tie zone difference. Minutes and seconds on the image timestamps are already accurate, we just need to know how many hours to offset in seconds. There are 3600s/hr, so a five-hour offset is 18000s. The real number we need for Seconds Offset is (negative) -18000.

   Hours    Seconds
   1            3600
   2            7200
   23          82800


     9. Enter your corrected offset in the Seconds offset box and press the Pre-Process button.
    10. Press the GeoTag Images button.
    11. Your geotagged images will be added to a new folder named geotagged inside the folder with
      the photos.

 ###

Monday, January 23, 2017

How Tuffwing's UAV Mapper Can Work for You- So You Can Get Your Work Done.

It is imperative that your company gathers useful data, creates accurate maps, and records precise measurements so a job can be completed. And everyone knows that in today’s economy companies have to make smart financial choices to maximize profits while reducing costs. Read the following post as it outlines why a Tuffwing UAV Mapper is just what your company needs in order for you to do your work- without breaking the bank.

By Stephanie Pelczar

Affordable.
Prices start at $2,500.00 for a “ready to fly” Tuffwing UAV Mapper. A UAV Mapper “kit” is also available for $350.00 if you should need a replacement part. It shouldn’t cost your company a fortune to purchase and utilize a UAV and it shouldn’t cost a fortune to replace a part if something happens to said UAV.

All in One.
With Tuffwing’s UAV Mapper, it is possible to create an array of maps to include 3D/topographical, thermal, and multispectral. You can collect a variety of data, locate hotspots or damage on utility lines, detect leaks in pipelines, measure stockpile volumes in quarries, determine the health of your crops, and much more. The UAV Mapper can carry the camera (sensor) of your choice: FLIR Vue Pro, Canon S110, Sony NEX-5 and a6000, and Sequoia. Tuffwing also makes custom camera mounts for all the previously mentioned cameras and camera trigger cables for the Sony and Canon cameras.


Great Technical Support.
For anyone new to the UAV industry, the steps one goes through from purchasing to actually flying a UAV and collecting data can seem daunting. Tuffwing helps customers every step of the way. Your company can make arrangements to have one-on-one flight instruction with Brian Christal, the founder of Tuffwing. Tuffwing also resells Pix4D license’s and has had a great working relationship with Pix4D for several years.

Precision.
Tuffwing UAV Mapper is capable of precision within 5 cm when using Emlid’s REACH RTK. You no longer need ground control points or expensive surveying equipment to obtain accurate aerial location data.


Reliable.
Tuffwing has satisfied customers all over the world who specialize in mining, surveying, precision agriculture, oil exploration, and the educational industries. Tuffwing values and supports their customers, no matter where they call home.

Durable and Transportable.
They are called Tuffwing for a reason. The UAV Mapper is made with high-quality EPP foam and the wings are reinforced with carbon fiber spars. The body is wrapped in coroplast to protect the foam surface while landing. Mars Parachutes are installed on UAV Mappers for added safety measures if an emergency landing is called for. A bulky launching device is not necessary with a Tuffwing UAV Mapper and the wings can easily be detached from the body for easy transport (and fast reassembly).


Go to Tuffwing.com for white papers, pricing, and current inventory. The Tuffwing shop is always in “innovation mode”, so new products are constantly being added. Tuffwing’s aim is to help your company get your work done!

+18304461500
sales@tuffwing.com


Tuffwing